Before writing a batch file you need to configure your visual studio environment. I am using Microsoft Visual Studio 8.
Step 1: Copy two folders from NX installed location to visual studio installed location so that we can able to create a NX project.

Step 2:

Step 3: Now open Visual Studio and create project.

Step 5:

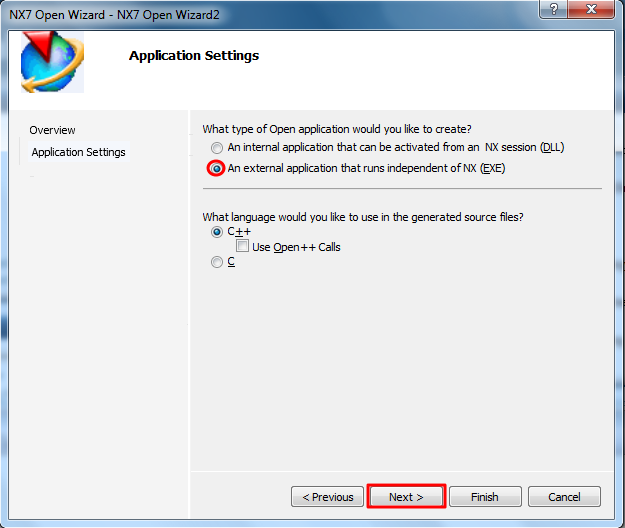
Step 6: Here I am creating an .exe

Step 7:

Step 8: write your custom code as shown below.

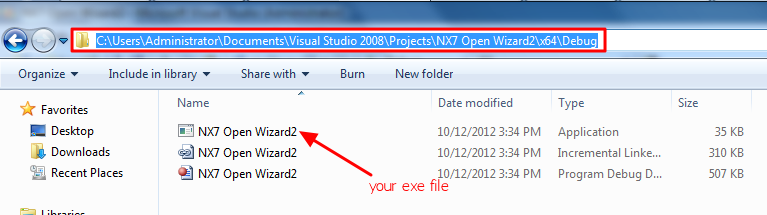
Step 9: Build Solution will generate .exe in the project folder.

Step 10:

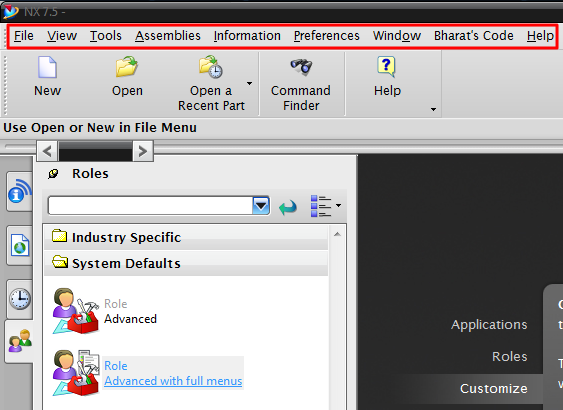
Step 11: Open NX and go-to "Roles" and click on "advanced with full menus" which will provide extra menus.

Step 12:
Step 13: Go-to File->Execute->NX open

Step 14: Provide your .exe here

Step 15: A console will be opened and your code will be executed.

Step 1: Copy two folders from NX installed location to visual studio installed location so that we can able to create a NX project.

Step 2:

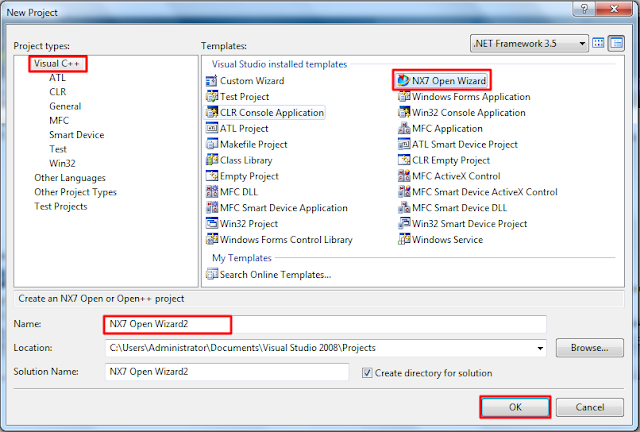
Step 3: Now open Visual Studio and create project.

Step 4: Select project type as "NX Open Wizard"

Step 5:

Step 6: Here I am creating an .exe
Step 7:

Step 8: write your custom code as shown below.

Step 9: Build Solution will generate .exe in the project folder.

Step 10:
Step 11: Open NX and go-to "Roles" and click on "advanced with full menus" which will provide extra menus.

Step 12:

Step 13: Go-to File->Execute->NX open

Step 14: Provide your .exe here

Step 15: A console will be opened and your code will be executed.

No comments:
Post a Comment